
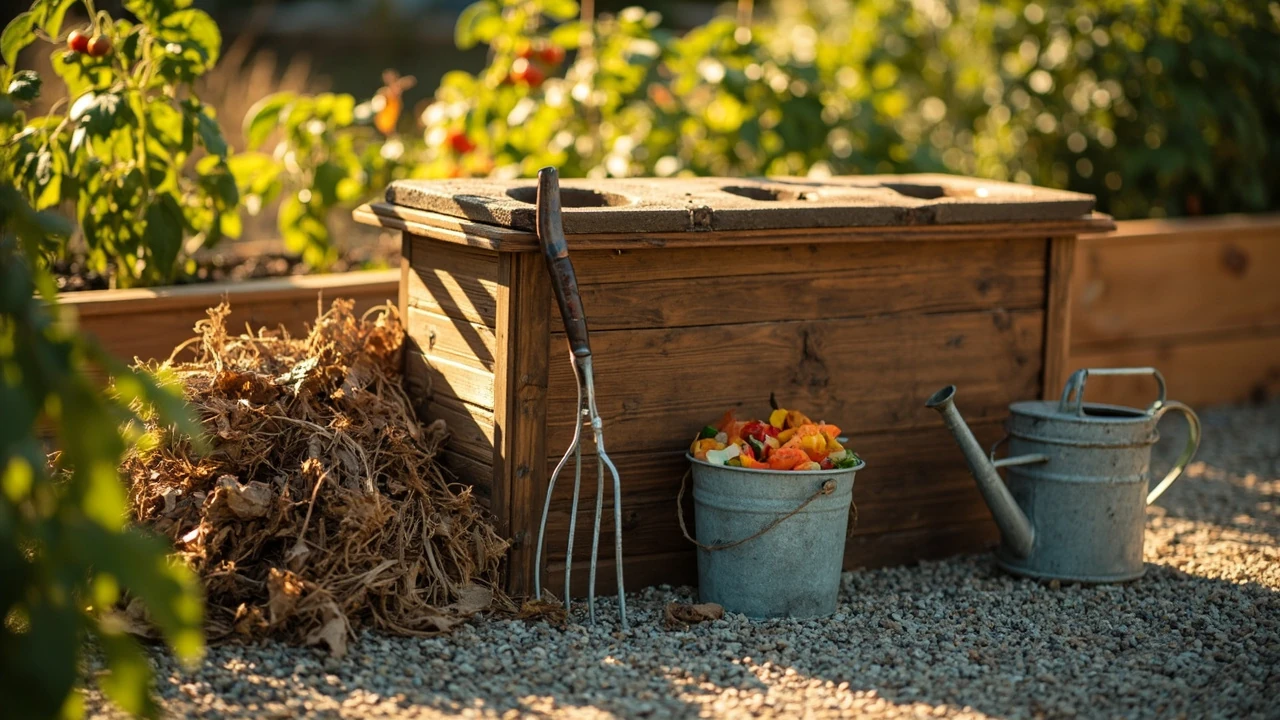
Composting guide: practical methods for home use
A kitchen generates more organic waste than most people realize, and a yard produces even more. Vegetable trimmings, coffee grounds, grass clippings, and fallen leaves all add up to a meaningful share of what households throw away. A practical composting guide helps homeowners turn that everyday waste into a useful soil amendment instead of sending it to a landfill, where it would break down without oxygen and release methane.
Composting is not a single activity. It is a small set of decisions about bin type, material mix, moisture, and turning. The choices are simple once the underlying logic is clear, and the payoff is a steady supply of crumbly, earthy material that improves garden soil, supports new plantings during landscape and fence installation projects, and reduces the volume of household trash. The sections below walk through those decisions in order, so a beginner can start confidently and a more experienced gardener can refine an existing system.
What composting actually is and why it works
Composting is the controlled decomposition of organic matter by bacteria, fungi, and small organisms such as springtails and worms. Under the right conditions, these organisms break down kitchen scraps, yard debris, and certain paper products into a dark, crumbly material often called humus. The process is the same one that happens naturally on a forest floor, but a compost bin speeds it up and keeps the mess contained.
The biological activity depends on four things working together: carbon-rich “browns,” nitrogen-rich “greens,” moisture, and oxygen. Browns include dry leaves, straw, shredded cardboard, and sawdust. Greens include fruit and vegetable scraps, coffee grounds, fresh grass clippings, and plant trimmings. When these are layered and kept damp but not soggy, the pile heats up as microbial activity peaks, then gradually cools as the material stabilizes into finished compost.
Why composting matters at home
For homeowners, the practical benefits are direct. Finished compost improves soil structure, helps sandy soil hold water, loosens heavy clay, and adds a slow release of nutrients. It also reduces the volume of garbage a household sends out each week, which lowers trash hauling demands and supports local property and yard care routines through the seasons.
Choosing a compost bin that fits your space
The bin sets the constraints. A small backyard, a patio, a garage, and a rural lot each call for different setups, and the wrong bin is one of the most common reasons a new compost project stalls.
Common bin types and where they work best
| Bin type | Best location | Capacity | Ventilation | Typical cost range |
|---|---|---|---|---|
| Stationary plastic bin | Patio, small yard | About 80 to 110 gallons | Built-in vents | Low to moderate |
| Tumbler bin | Level surface, easy access | About 40 to 80 gallons | Built-in, plus turning action | Moderate |
| Three-bin wooden system | Larger yard | About 9 to 12 cubic feet per bay | Open front and slatted sides | Moderate, often DIY |
| Wire mesh cylinder | Side yard, behind shed | Variable | Fully open | Low |
| Indoor worm bin | Garage, basement, closet | Small, usually under 20 gallons | Drilled holes | Low to moderate |
| Simple heap | Rural lot | Unlimited | Open air | Free |
Homeowners who already manage larger projects, such as a new water softener installation or yard regrading, often prefer a stationary or tumbler bin because the footprint is predictable and the look is tidy. Renters and apartment dwellers typically start with an indoor worm bin or a small tumbler on a balcony, then scale up after a move.
Placement decisions that prevent problems
Where a bin sits affects how often it is used and how well it works. A few practical rules help:
- Place the bin on level, well-drained ground so moisture does not pool underneath.
- Choose a spot that gets partial sun, which helps the pile warm up without drying out too quickly.
- Keep the bin within easy reach of the kitchen door, since most material comes from food prep.
- Leave enough space beside the bin to add a turning fork, a bucket of browns, and a water source.
- Avoid low spots where runoff can soak the pile, and avoid direct contact with wooden siding.
Building the right mix: browns, greens, and the carbon-to-nitrogen ratio
Successful composting is largely a matter of getting the carbon-to-nitrogen ratio into a workable range. Microbes use carbon for energy and nitrogen for protein, and a roughly balanced supply of both keeps the population active.
Materials that belong in a home pile
| Category | Examples | Role in the pile | Notes |
|---|---|---|---|
| Browns (high carbon) | Dry leaves, straw, shredded cardboard, sawdust, paper towels | Energy source, adds bulk and air | Shred or break up bulky pieces |
| Greens (high nitrogen) | Fruit and vegetable scraps, coffee grounds, tea bags, fresh grass clippings | Protein source, drives heat | Avoid thick layers of fresh grass |
| Optional additions | Garden soil, finished compost, crushed eggshells | Introduces microbes, balances pH over time | Use sparingly |
| Avoid | Meat, dairy, oily foods, pet waste, glossy paper, diseased plants | Attract pests, create odor, or introduce pathogens | Keep out of home bins |
A common guideline is roughly three parts browns to one part greens by volume, but a practical approach is more forgiving. Aim for a pile that looks roughly like a moist, crumbly sponge when squeezed: it should hold its shape briefly, then fall apart. If the pile smells sour, it usually needs more browns and more air. If it sits cold and does not shrink, it usually needs more greens and a splash of water.
A simple layering method for beginners
- Start with a 4 to 6 inch base of coarse browns, such as twigs or chopped straw, to keep air flowing from the bottom.
- Add a 2 to 3 inch layer of greens, spreading food scraps across the surface.
- Cover the greens with a 4 to 6 inch layer of browns to limit odor and discourage flies.
- Sprinkle water lightly as you build, aiming for the feel of a wrung-out sponge.
- Repeat the layers until the bin is full, then begin a regular turning routine.
Managing moisture, air, and temperature
Once a pile is built, three variables decide how fast it finishes: moisture, oxygen, and heat. None of them require instruments to manage. A hand, a fork, and a little patience are usually enough.
Moisture targets that work across climates
The pile should be damp throughout but not dripping. In dry regions or summer heat, water the pile when you add a new bucket of scraps. In wet seasons, top the pile with extra browns so rain does not compact the surface and drive out air. A common mistake is treating a pile like a garden bed and watering it on a schedule. Compost responds better to check-then-act: squeeze a handful, and if no drops appear and the material does not feel dusty, it is fine.
Turning schedules for different goals
- Hot composting: turn every 2 to 3 days to keep temperatures in the active range and finish a batch in about 4 to 6 weeks.
- Standard composting: turn every 1 to 2 weeks, finishing a batch in roughly 2 to 4 months.
- Low-effort composting: turn once a month or whenever the bin feels full, with a 6 to 12 month timeline.
Turning does not need to be a full rebuild. A garden fork inserted into the sides and pulled toward the center is enough to introduce air and move undecomposed material from the outside into the hot middle.
Different composting methods worth knowing
There is no single “right” method. The best approach depends on available space, the type of waste generated, and how hands-on the household wants to be.
Hot composting
Hot composting aims for a sustained internal temperature between roughly 130 and 150 degrees Fahrenheit. At that range, the pile breaks down quickly and many weed seeds and pathogens are reduced. Reaching those temperatures requires a larger initial mass, a balanced mix, and regular turning. For homeowners with a steady stream of yard debris and kitchen scraps, a hot pile produces finished compost in a single season.
Cold or passive composting
Cold For additional context, composting is closer to “let nature handle it.” Material is added as it becomes available, and the pile is turned only occasionally. Decomposition is slower, typically 6 to 12 months, but the workload is minimal. This is a good fit for households that generate modest amounts of waste or for people who would rather not manage a strict schedule.
Vermicomposting with worms
Vermicomposting uses red wiggler worms in a shallow bin to break down kitchen scraps. It works well indoors, produces a nutrient-rich liquid called worm tea, and handles a steady stream of fruit and vegetable scraps. Worms are sensitive to temperature extremes, so indoor placement is usually safer. Meat, dairy, and oily foods should still be kept out, since they attract pests faster than worms can process them.
Bokashi fermentation
Bokashi uses a sealed bucket and a special bran inoculated with beneficial microbes to ferment food waste, including small amounts of meat and dairy that a traditional pile would reject. The fermented material is then buried in a garden bed or added to an outdoor pile to finish decomposing. Bokashi is a useful bridge for households that want to divert more waste than a worm bin can handle.
Sheet composting and trench composting
For gardeners with extra space, sheet composting spreads organic material directly on the soil surface as a thick mulch. Trench composting buries kitchen scraps in a dug trench and covers them with soil, where they break down in place. Both methods skip the bin entirely and feed the soil where plants will grow.
Common problems and how to solve them
Most compost problems are simple to diagnose once the symptoms are matched to the cause.
Odor and pest issues
A sour or rotten smell almost always means the pile is too wet, too compacted, or overloaded with greens. Add a generous layer of dry browns and turn the pile to introduce air. Flies and other pests usually point to exposed food scraps; cover new additions with browns and avoid adding meat, dairy, or oily foods. For outdoor bins, a simple latch or a weighted lid can discourage raccoons and rodents, and a wire mesh base can deter burrowing animals.
A pile that will not heat up
A cold pile is often too small, too dry, or too low in nitrogen. If the bin contains less than roughly a cubic yard of material, combine it with another batch or add more greens. If the pile is dry, water it as you turn. In early spring, a cold pile is normal and will warm up as outdoor temperatures rise.
A pile that is finished but uneven
Uneven results are common with small bins. The center usually finishes first because it holds heat and moisture. Screening the pile through a piece of hardware cloth separates the finished, crumbly compost from larger pieces that can go back into the next batch as starter material.
Using finished compost around the home
Finished compost is ready when it is dark, crumbly, and smells like a forest floor. At that point it can be used in several practical ways.
- Mix it into garden beds at planting time, aiming for a 1 to 2 inch layer worked into the top 4 to 6 inches of soil.
- Use it as a top-dressing around shrubs, trees, and perennials to slowly feed the root zone.
- Blend it with potting soil for container plants, typically at about one part compost to two parts potting mix.
- Spread a thin layer over lawn areas as a soil conditioner, then water it in.
- Add a small handful to each planting hole during new landscape work, such as the bed prep that follows a new fence installation.
Seasonal and regional considerations
Climate shapes the rhythm of composting more than any other factor. In cold-winter regions, decomposition slows during the dormant months, so a common practice is to build a large fall pile that finishes in spring. In hot, dry regions, the challenge is keeping moisture steady, which often means siting the bin in partial shade and watering during dry spells. Coastal and humid regions tend to produce soggy piles, so extra browns and good drainage matter most.
For homeowners planning larger outdoor work, composting pairs naturally with other site improvements. After a project like regrading or new fence installation, the soil along the work line is often compacted and low in organic matter. A top-dressing of finished compost helps the disturbed areas recover faster.
Safety, neighbors, and a few etiquette basics
A well-managed bin is nearly invisible to neighbors, but a poorly managed one can quickly become a complaint. A few habits keep the relationship positive:
- Keep the bin at least a few feet from property lines and away from shared walkways.
- Avoid placing it directly under bedroom windows, since occasional odor or flies are part of the process.
- Use a bin with a secure lid in areas with raccoons, rats, or other scavengers.
- Stick to plant-based kitchen waste, which breaks down cleanly and rarely attracts pests.
- Wash hands after handling compost, especially before eating, as a basic hygiene step.
Planning a realistic compost routine
The most useful routine is the one that survives a busy month. A simple weekly pattern is often enough for a small household: collect kitchen scraps in a countertop bin, empty it into the outdoor pile on a set day, cover the fresh material with browns, and turn the pile on a second day each week. Larger households, or those with active gardens, may add a second turning day and a midweek water check during summer.
For a more structured plan, the steps below give a workable starting point.
- Pick a bin that fits the space and matches the routine. A tumbler is friendly for beginners, a three-bin system suits a larger yard.
- Set up a kitchen caddy and a small supply of browns, such as a paper bag of dry leaves, next to the outdoor bin.
- Build the first layer as described earlier, then commit to a turning day for the first month.
- After four to six weeks, check the pile. If it is dark, crumbly, and earthy, screen and use it. If not, keep going.
- Review the routine at the end of the season and adjust the mix, turning frequency, or bin size to match what actually happened.
Where composting fits in a broader home maintenance plan
Compost is one piece of a larger pattern of property care. The same soil that benefits from compost also responds well to mulching, sensible watering, and periodic aeration. Homeowners who already plan for seasonal tasks, such as preparing a house for sale or scheduling routine yard work, often find that a steady compost supply reduces the need for bagged soil and fertilizer. Over several seasons, the savings are modest but real, and the soil quality improves noticeably.
Community-scale programs add another option. Many municipalities now offer curbside collection of food scraps, and local guidelines, such as those described in this composting overview for Boulder County, show how regional systems route organic waste to industrial composting facilities where large volumes can be processed efficiently. Home composting and municipal collection are complementary rather than competing: a home bin handles day-to-day scraps, while curbside programs catch the volumes that exceed what a backyard system can manage. For readers who want the broader context on the biology behind decomposition, the Wikipedia article on compost provides a useful reference on the chemistry, methods, and history of the practice.
Frequently asked questions
How long does it take to get usable compost?
A hot, well-managed pile can produce finished compost in about 4 to 6 weeks. A typical backyard bin turned every week or two usually finishes in 2 to 4 months. A passive, low-effort pile often takes 6 to 12 months. The timeline depends mostly on the size of the pile, the mix of materials, how often it is turned, and the climate.
What should I put in a home compost bin?
Add fruit and vegetable scraps, coffee grounds, tea bags, crushed eggshells, dry leaves, straw, shredded cardboard, paper towels, and garden trimmings. Avoid meat, fish, dairy, oily foods, pet waste, glossy or coated paper, and diseased plants, since these create odor, attract pests, or do not break down well in a home bin.
Do I need to turn the pile every week?
Frequent turning speeds up decomposition, but it is not strictly required. A pile turned every week or two finishes much faster than one that is never turned. If time is tight, turning once a month is enough to keep the process moving, just at a slower pace.
Is composting safe around children and pets?
A well-managed bin is generally safe. Keep the bin secured with a latch or lid in yards where pets or wildlife might investigate, and teach children to wash their hands after handling compost. Avoid adding pet waste from dogs or cats, since pathogens in that material require higher, sustained temperatures than a home bin typically reaches.
Can I compost in an apartment or small space?
Yes. A small tumbler on a balcony or a worm bin kept in a closet, garage, or under a kitchen counter can handle a household’s daily food scraps. The keys are choosing a bin with a tight lid, keeping it away from heat sources, and avoiding meat and dairy in the feed stock.
Why does my compost smell bad?
A sour or rotten smell usually means the pile is too wet, too compacted, or has too many greens and not enough browns. Spread a thick layer of dry leaves or shredded cardboard on top, then turn the pile to add air. Within a few days the odor should fade.
How do I know when compost is ready to use?
Finished compost is dark brown, crumbly, and smells earthy. Most of the original material is no longer recognizable. A simple test is to scoop a handful: if it feels like a moist forest floor and you cannot pick out individual scraps, it is ready. Any larger pieces left behind can go back into the next batch.
Can I add weeds and weed seeds to the pile?
Yes, with caution. A hot pile that reaches and holds internal temperatures around 130 to 150 degrees Fahrenheit will reduce most weed seeds. In a cold pile, seeds often survive and can sprout when the compost is spread in the garden. If weeds have already set seed, it is safer to bag them or send them through a municipal program that uses higher temperatures.
How much compost will I actually produce?
A rough rule of thumb is that finished compost ends up at about one third to one half of the original volume of the material added, since decomposition releases water and carbon dioxide. A typical small backyard bin therefore yields a few cubic feet of compost per year, enough for seasonal top-dressing of beds and containers.
Does composting really make a difference for the soil?
Yes. Compost improves soil structure, increases the soil’s ability to hold water, and provides a slow, steady supply of nutrients. It also supports the microbial life that helps plant roots absorb those nutrients. Even a thin annual top-dressing of compost, repeated over several seasons, leads to visibly healthier soil and more resilient plants.
Leave a Reply